
In this tutorial we will be guiding you on how to enable SPF and DKIM in CentOS Web Panel.
1) Login to CWP (http://your-ip.com:2030)
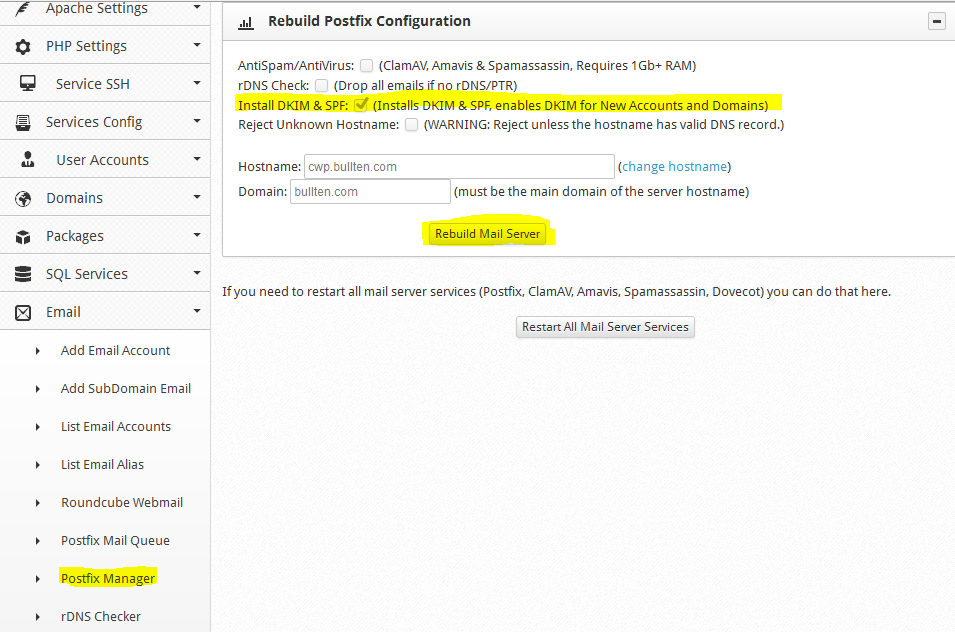
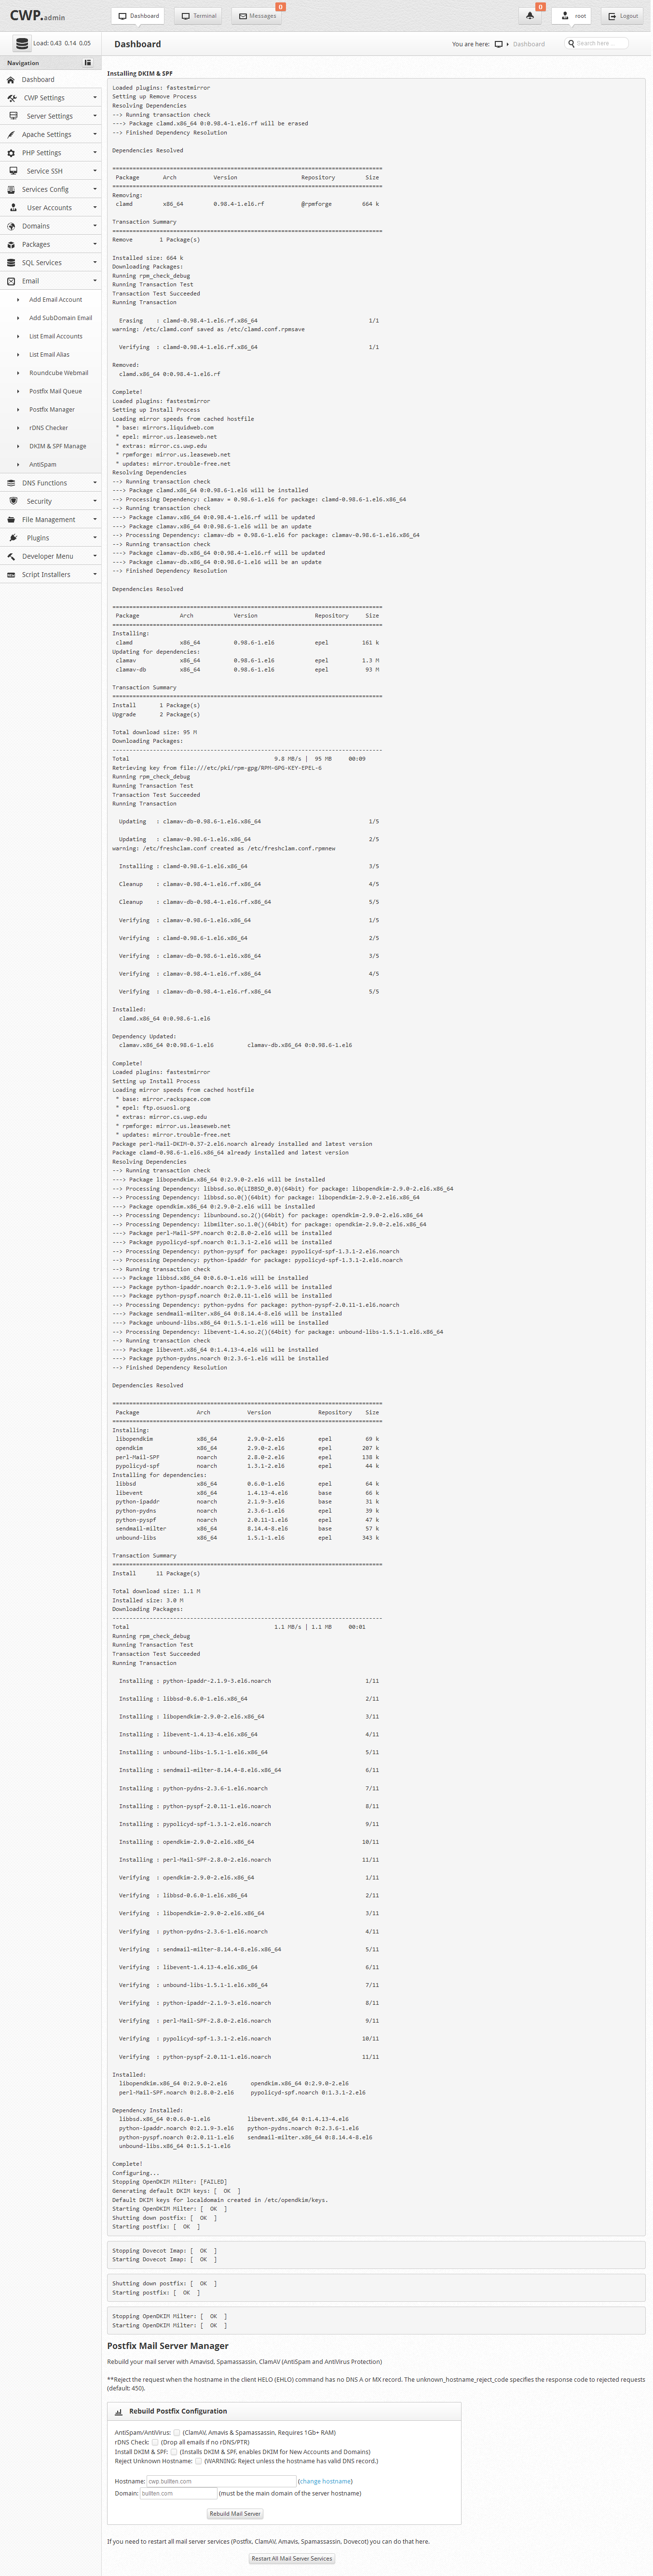
2) Navigate to Email –> Postfix Manager and tick mark Install DKIM & SPF: and click on Rebuild Mail Server


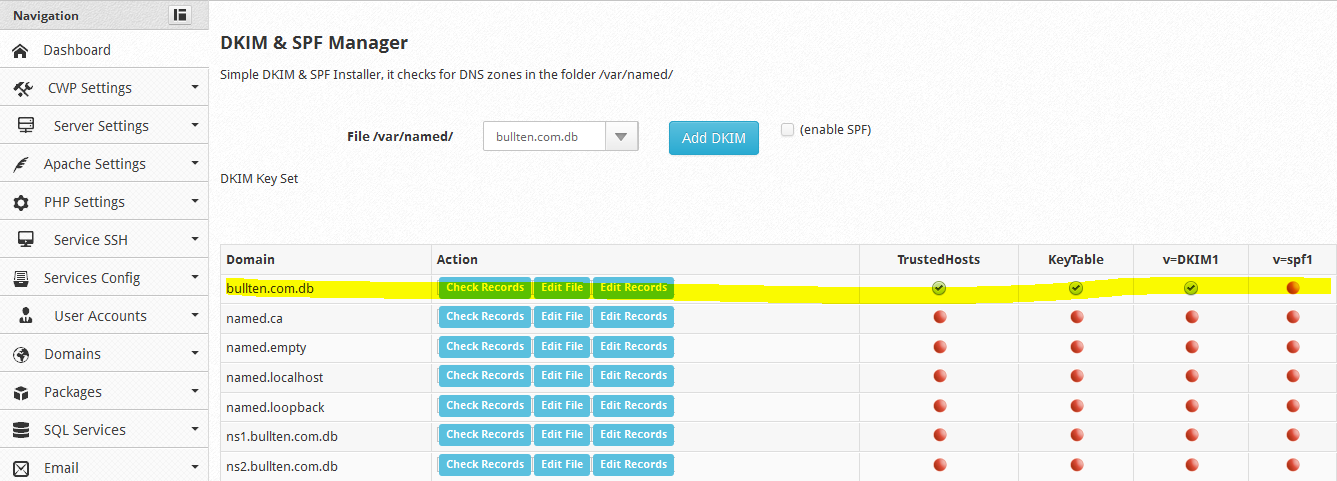
3) Now goto Email –> DKIM and SPF Manage and Select Domain Name, tick enable spf and then click Add DKIM
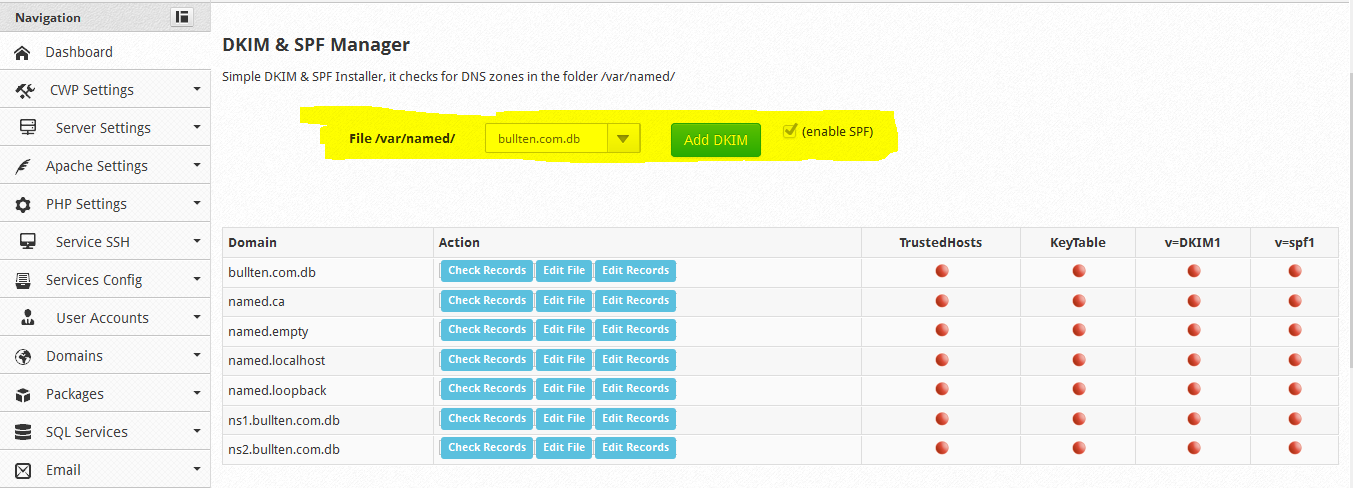


As you see in above image v=spf1 is not enabled yet. Lets enable SPF manually.
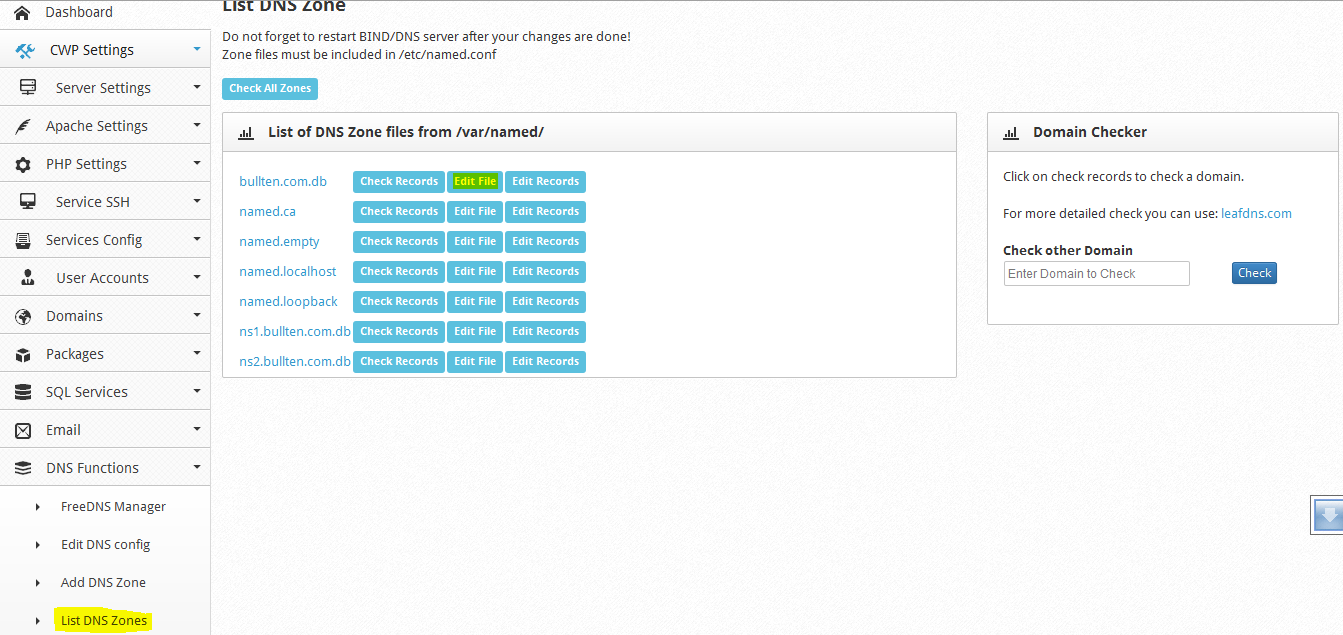
4) Navigate to DNS Function –> List DNS Zones and there you will see your domain name and infront of it there is Edit File button. Click Edit File and Add below entry.
your-domain-name. 14400 IN TXT "v=spf1 +a +mx +your-ip-address ~all"

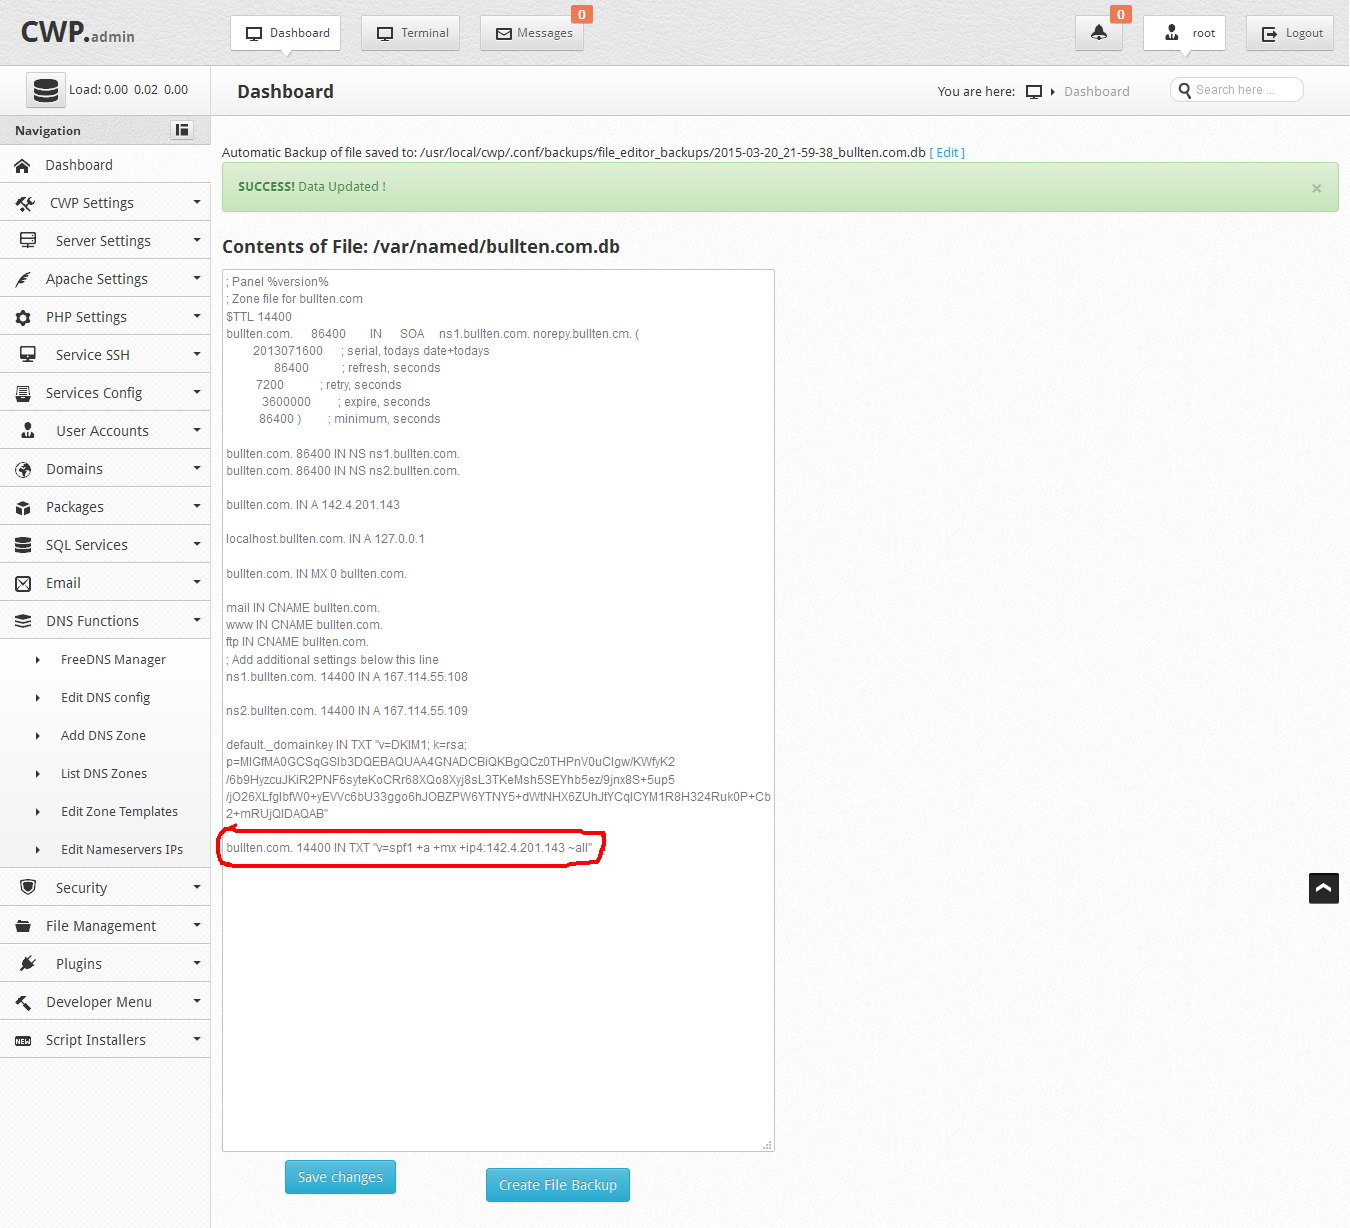

You have successfully enabled SPF. Now lets make DKIM verification working.
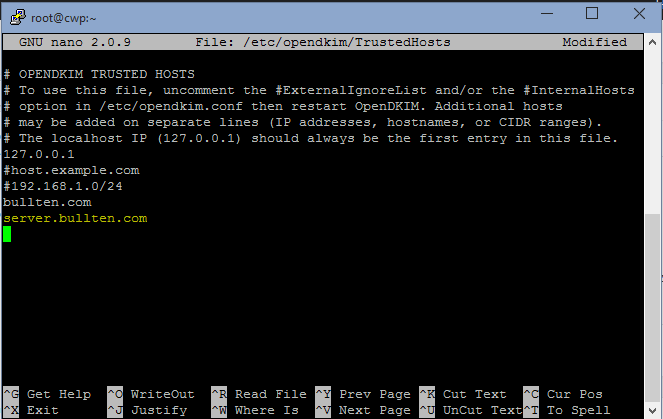
5) open /etc/opendkim/TrustedHosts and add your hostname.
nano /etc/opendkim/TrustedHosts

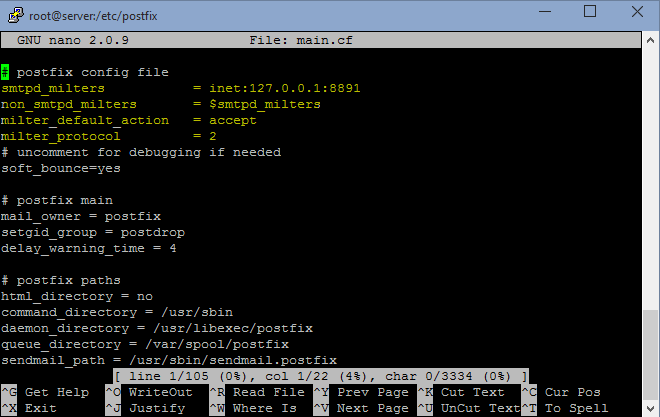
6) open /etc/postfix/main.cf and add the lines below.
nano /etc/postfix/main.cf
smtpd_milters = inet:127.0.0.1:8891
non_smtpd_milters = $smtpd_milters
milter_default_action = accept
milter_protocol = 2

7) Finally restart postfix.
service postfix restart
You are done with enabling SPF and DKIM Keys. Now login to webmail (http://yourdomain.com/webmail) and send email to check-auth@verifier.port25.com to verify if everything is setup correctly.
*Note: In version 0.91+ you dont need to proceed with point 6 and 7